Window Management
Window management is one of the core features of ElyOS. This guide shows you how to manage windows efficiently.
What is a Window?
Section titled “What is a Window?”A window is a rectangular area on the desktop that displays a running application’s interface. Each application runs in its own window, allowing you to use multiple applications simultaneously.
Window Structure
Section titled “Window Structure”A window consists of the following parts:
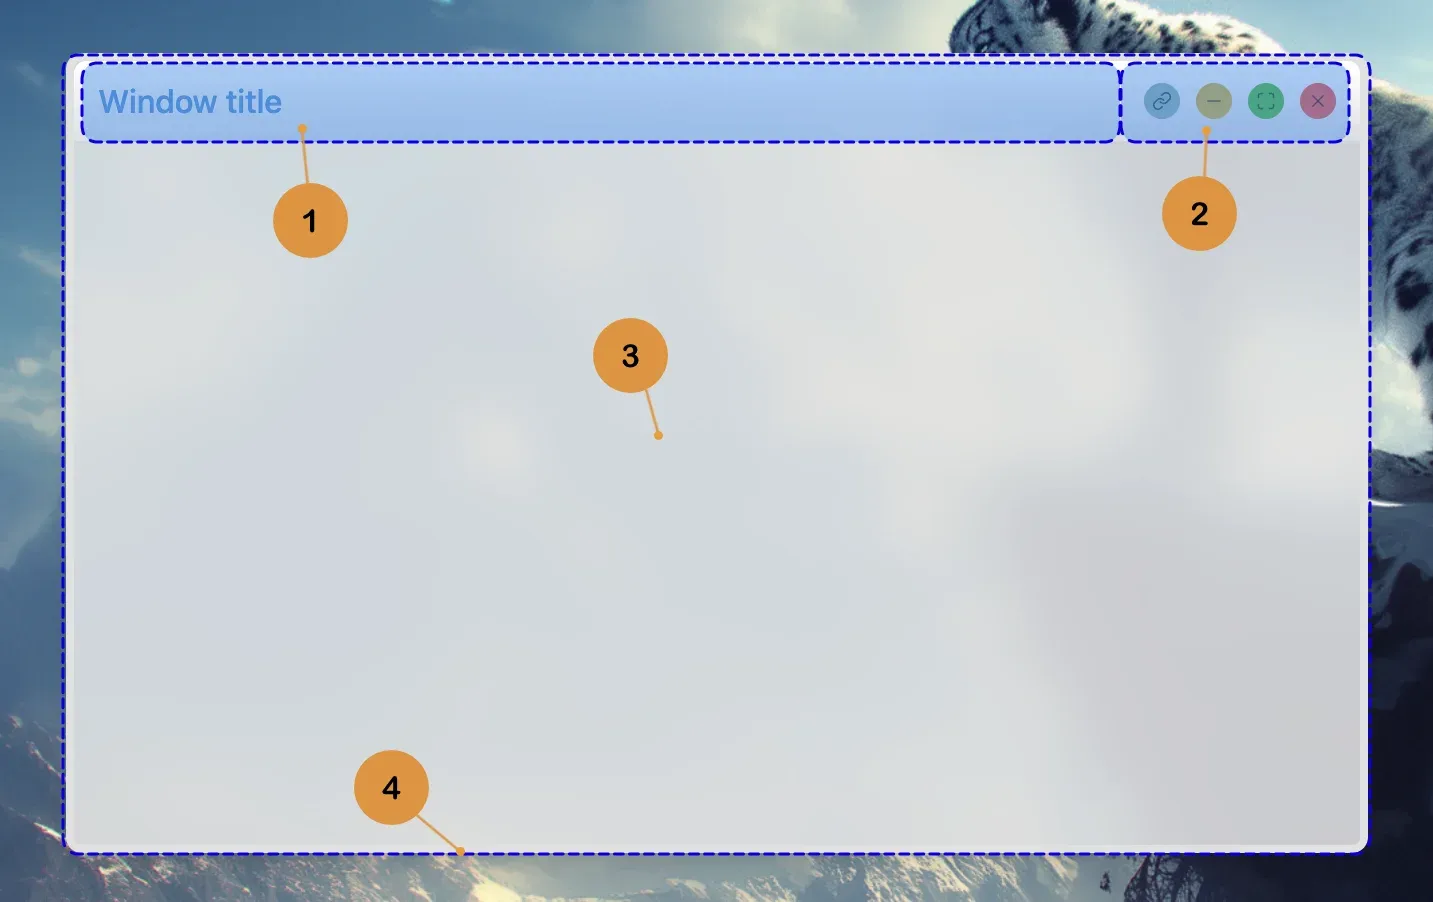 Window structure and main parts
- Header (1): The bar at the top of the window showing the application name. You can move the window by grabbing the header.
- Control buttons (2): Buttons on the right side of the title bar for managing the window (minimize, maximize, close, etc.)
- Content area (3): The main part of the window where the application interface appears
- Resize handles (4): Invisible areas on the edges and corners of the window for resizing
Dragging Windows
Section titled “Dragging Windows”You can freely move windows on the desktop:
- Click on the window header
- Hold down the mouse button
- Drag the window to the desired location
- Release the mouse button
Important: Windows always stay within the desktop area - they cannot be dragged outside the visible area. The system automatically limits movement to keep the window fully visible.
Window shake feature: If you quickly shake a window left-right (3 direction changes within 1 second), all other windows automatically minimize, leaving only the active window on the desktop.
Resizing Windows
Section titled “Resizing Windows”You can modify window sizes as needed:
- Move the mouse to the window edge or corner
- The cursor changes to a resize cursor
- Click and drag the edge in the desired direction
- Release the mouse button
Resize Constraints
Section titled “Resize Constraints”Application developers can define window resize constraints:
- Minimum size: Window cannot be made smaller than a specified size
- Maximum size: Window cannot be made larger than a specified size
- Resize disabled: Resizing can be completely disabled for some applications
- Maximize disabled: Window cannot be maximized to full screen
These constraints ensure the application interface always displays properly and remains usable.
Quick Resize with Double Click
Section titled “Quick Resize with Double Click”Double-clicking on window edges or corners quickly fills the window in that direction:
- Top edge: Window fills upward to the top of the desktop
- Bottom edge: Window fills downward to the bottom of the desktop
- Left edge: Window fills left to the left edge of the desktop
- Right edge: Window fills right to the right edge of the desktop
- Corners: Window fills in both directions (e.g., top right corner: right and up)
Automatic maximization: If the window size reaches 99% of the desktop in both width AND height, it automatically switches to maximized state.
Window Control Buttons
Section titled “Window Control Buttons”Control buttons in the top right corner of the window:
 Window control buttons with colors and functions
- Help button (?) - Blue: Opens application help (if available)
- Link button - Turquoise: Copies link to open the application to clipboard
- Minimize (-) - Yellow: Hides the window but the application continues running
- Maximize/Restore - Green: Enlarges to full screen or restores to original size
- Close (X) - Red: Closes the window and stops the application
Note: For inactive windows, button icons only appear when you hover the mouse over the button.
Minimizing
Section titled “Minimizing”Minimizing a window hides it from the desktop, but the application continues running:
- Click the minimize button in the top right corner of the window (yellow button, minus icon)
- The window disappears from the desktop
- The application button remains visible on the taskbar
Restore: Click the application button on the taskbar to restore the minimized window.
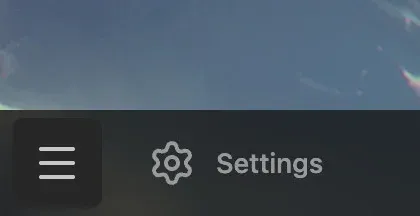 Minimized application button on the taskbar
Maximizing
Section titled “Maximizing”Maximizing a window fills the entire screen:
- Click the maximize button in the top right corner of the window (green button, square icon)
- The window fills the entire screen
- To restore, click the button again (now two square icons appear)
- The window returns to its original size
Quick maximize: Double-click on the window header.
Closing
Section titled “Closing”Closing a window stops the application:
- Click the close button in the top right corner of the window (red button, X icon)
- The window closes
- The application stops
- The application button disappears from the taskbar
Help Button
Section titled “Help Button”Some applications have a built-in help function:
- The help button appears in the window title bar, first among function buttons (blue button, ? icon)
- This is an optional button - only visible if help documentation exists for the application
- Clicking the help button opens a separate Help application
- The Help application contains detailed description and usage guide for the application
- This provides quick access to context-sensitive help without leaving the application
Link Button (Application Sharing)
Section titled “Link Button (Application Sharing)”The Link button allows you to share an application with its current state with other users:
How Does It Work?
Section titled “How Does It Work?”- Click the Link button in the window title bar (turquoise button, link icon)
- The system automatically generates a unique GUID link
- The link contains the application name and current state (e.g., which menu item you’re on)
- The link is automatically copied to the clipboard
- You receive a notification of successful copying
What Can It Be Used For?
Section titled “What Can It Be Used For?”- Sharing specific settings with colleagues - no need to explain “open the Settings app, find the XY menu item”, just send the link
- Clarifying bug reports - if you find a bug in a specific menu item, you can share the exact location
- Educational purposes - quickly navigate others to a specific function
- Team collaboration support - simplifies communication about application usage
Note: The GUID link stores information in compressed format, so it’s safe to share and doesn’t contain sensitive data. For more about opening links, see Taskbar - Application Opener.
Window Previews
Section titled “Window Previews”Each open application appears with its own button on the taskbar, even if multiple instances of the same application are running.
Preview Image Feature
Section titled “Preview Image Feature”If enabled in the Settings application (Performance section), inactive windows have preview images:
- Hover your mouse over an application button on the taskbar
- The window preview image appears
- Click the button to bring the window to foreground
Important: Preview images are resource-intensive and can slow down application minimization time. If you want faster performance, disable this feature in Settings > Performance.
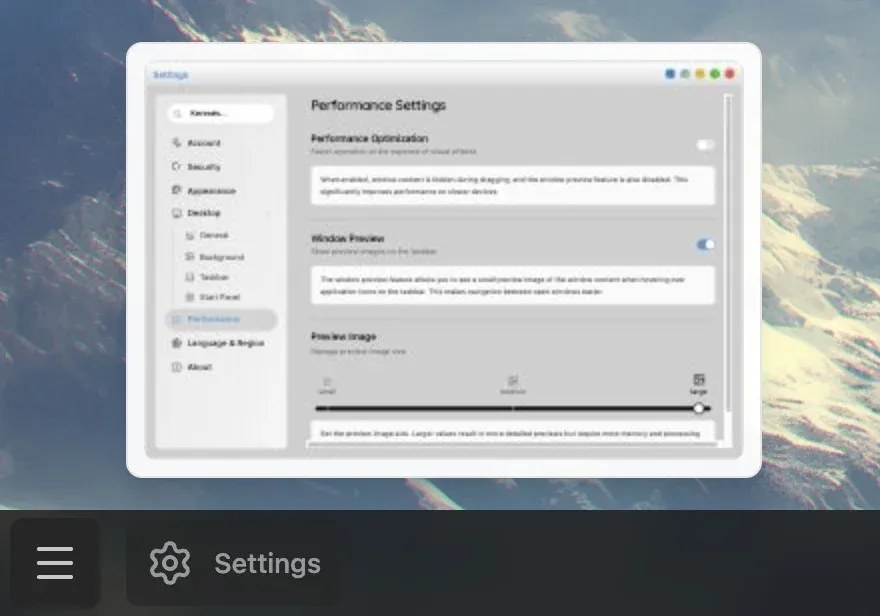 Window preview image displayed on the taskbar
Related Topics
Section titled “Related Topics”- Taskbar - Application buttons and system functions
- Applications - Using applications
- Settings - Configuring window previews